Using WheelClear
Step 1: Ensure that the spreader bases is thoroughly cleaned. Spraying with a hose and drying is sufficient.
Step 2. Place the two pieces of WheelClear into the spreader base. The threaded portion of WheelClear should be on the sides of the square spreader plate, not the corners. Press on all sections until fully seated.
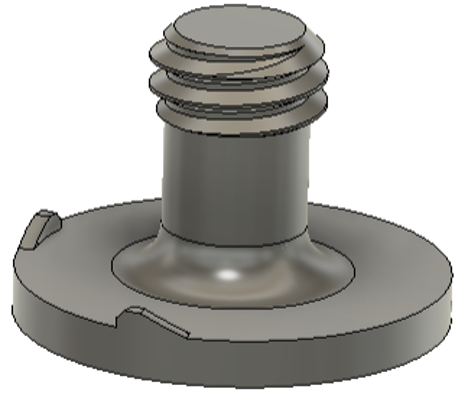
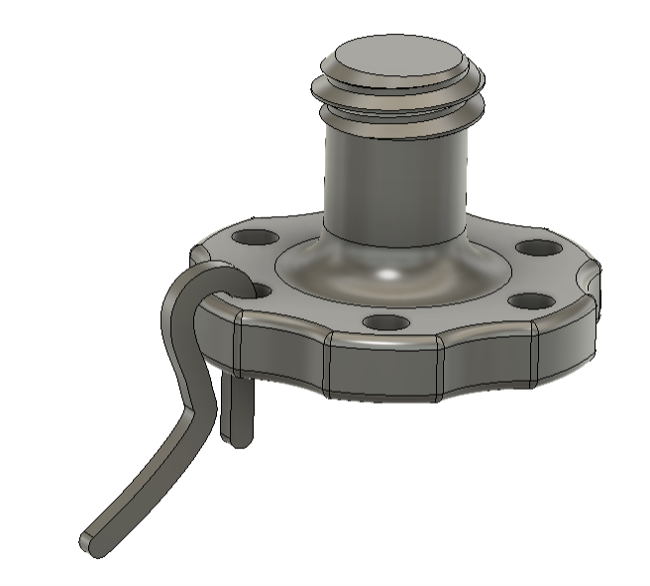
Step 3: With the wheels raised, install the six screws into WheelClear. The screw heads should hold WheelClear tight to the stock spreader plate. There are two anti-rotation nubs on each screw that should both be visible when the screw is fully installed. There will be some resistance while installing when going over these nubs. If you have a version with “cotter pins”, then install cotter pins in the hole nearest the spreader plate. The screw should not be able to back out more than 1/6th a turn with the cotter pin installed.
Tip: With one hand, hold WheelClear tight to the spreader plate. With the other, install the screw until the screw head makes contact with the spreader plate. Do not overtighten! If the screw is giving resistance and you see neither nub is touching the build plate, it is fully installed.
Step 4. With the wheels raised, rotate the left wheel to turn the spreader. Ensure no interference between WheelClear and your spreader.
Note: If you hear “clipping” while in use, stop and ensure the tabs closest to the center are not raising due to fertilizer getting stuck under them. A quick removal, cleaning, and reinstallation will allow WheelClear to sit properly on the spreader plate. This rarely happens, but is possible with very small fertilizer granule sizes.